
서비스 회원가입 시 휴대폰 문자 인증 기능을 구현하기 위해 NCP(Naver Cloud Platform)에서 제공하는 SENS API를 Feign Client로 호출하는 과정을 정리하였다.
SENS(Simple & Easy Notification service)는 NCP에서 제공하는 서비스로, sms 뿐만 아니라 push, 알림톡 등 다양한 기능을 사용할 수 있다. 그중, sms를 이용하여 회원가입을 하고자 하는 유저의 전화번호로 인증 번호를 보내고 인증을 수행하였다. 그 과정을 RestTemplate이 아니라 Feign Client로 구현하였다.
공식 문서가 친절하게 잘 정리되어 있어서 API를 사용하기 편리하다.
Feign 이란?
- Netflix에서 개발한 Http Client Binder 이다.
- 선언적 인터페이스와 어노테이션만으로 간단하게 Open API를 호출하는 클라이언트를 구현할 수 있고, 세부적인 내용을 사용자가 직접 구현할 필요가 없어 편리하다.
- RestTemplate으로 구현했을 때보다메서드 반복 호출을 줄이고, 가독성을 높일 수 있다.
Naver Cloud Platform 세팅
1. 마이페이지 - 인증키 관리에 들어가서 인증키를 생성해 준다. 여기서 AccessKey와 SecretKey를 따로 복사해 둔다.

2. 우측 상단의 콘솔로 들어간 후, Services에서 sens를 검색한다.

3. 프로젝트를 생성한 후, 우측 하단의 서비스 ID 열쇠 모양을 클릭하여 서비스 ID를 알아내서 복사해 둔다.

4. 메시지 전송을 위한 발신번호를 등록해야 한다. 발신번호는 NCP에 가입한 계정 주인의 전화번호여야 한다. 발신번호 또한 복사해 둔다.
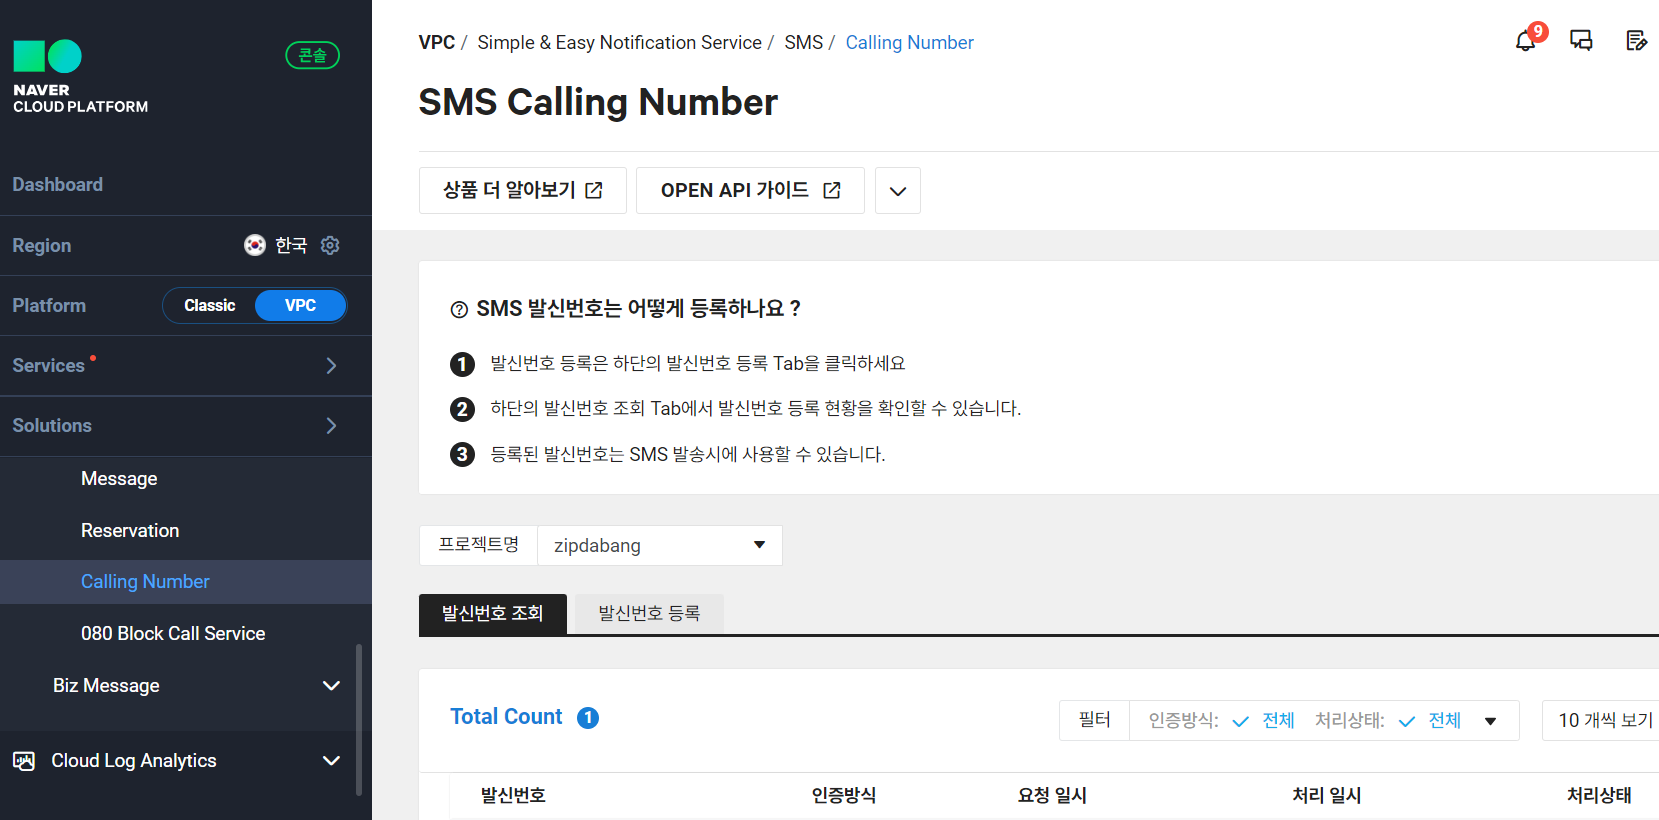
여기까지 하면 NCP 사이트에서 필요한 정보들은 다 수집했다.
Spring 코드 구현
1. SENS 정보 환경변수 등록
- 위의 과정에서 알아낸 accessKey, secretKey, serviceId, senderPhone을 각각 복사하여 인텔리제이의 환경변수로 등록해 준다. 그리고 아래와 같이 application.yml에서 불러온다.
- 개인공부용이면 service단에 해당 값들을 하드코딩해도 상관없지만 서비스를 배포해야 하니 환경변수로 빼고 yml에서 주입하여 불러오도록 구현했다.
naver-sms:
  accessKey: ${NAVER_SMS_ACCESSKEY}
  secretKey: ${NAVER_SMS_SECRET}
  serviceId: ${NAVER_SMS_SERVICEID}
  senderPhone: ${NAVER_SMS_PHONE}
2. build.gradle에 openFeign 의존성 주입한다.
implementation 'org.springframework.cloud:spring-cloud-starter-openfeign'
3. Naver의 Open API를 호출할 인터페이스를 정의한다.
- url은 @FeignClient의 url은 NCP에서 제공하는 API URL이고, configuration은 해당 FeignClient에 적용할 설정 정보가 담긴 클래스를 지정한다.
@FeignClient(name = "feign", url = "https://sens.apigw.ntruss.com/sms/v2/services", configuration = NaverFeignConfiguration.class)
public interface NaverSmsFeignClient {

    @PostMapping(value = "/{serviceId}/messages")
    void sendSms(@PathVariable(value = "serviceId") String serviceId,
                 @RequestHeader HttpHeaders headers,
                 @RequestBody SmsRequestDto request);
}
4. NaverFeignConfiguration
- Configuration에서는 Feign 클라이언트에서 사용할 RequestInterceptor, ErrorDecoder 등을 Bean으로 등록해 준다.
- RequestInterceptor : REST API call을 보내기 전에 요청을 가로채서 전처리, 후처리 작업을 수행한다. ColonInterceptor를 만든 이유는 아래에 따로 정리하였다.
- 401 Unauthorized 에러 발생 이유 및 해결 방법
@RequiredArgsConstructor
public class NaverFeignConfiguration {

    @Bean
    public RequestInterceptor basicAuthRequestInterceptor() {
        return new ColonInterceptor();
    }
    public static class ColonInterceptor implements RequestInterceptor {
        @Override
        public void apply(RequestTemplate template) {
            template.uri(template.path().replaceAll("%3A", ":"));
        }
    }

    @Bean
    public ErrorDecoder errorDecoder() {
        return  new FeignClientExceptionErrorDecoder();
    }

    @Bean
    Logger.Level feignLoggerLevel() {
        return Logger.Level.FULL;
    }
}
5. @EnableFeignClients 추가
- SprintBootApplication이 실행될 때, @FeignClient가 붙은 파일들을 구현체로 만든다.
- 따라서, Application 실행 함수가 정의되어 있는 파일에 @EnableFeignClients를 붙여줘야 한다.
@EnableFeignClients
public class ZipdabangServerApplication {

	public static void main(String[] args) {
		SpringApplication.run(ZipdabangServerApplication.class, args);
	}
}
6. 에러 로깅 편의를 위해서 FeignClientExceptionErrorDecoder 만들어서 처리
public class FeignClientExceptionErrorDecoder implements ErrorDecoder {

    Logger logger = LoggerFactory.getLogger(FeignClientExceptionErrorDecoder.class);

    @Override
    public Exception decode(String methodKey, Response response) {
        if (response.status() >= 400 && response.status() <= 499) {
            logger.error("{}번 에러 발생 : {}", response.status(), response.reason());
            return new CustomFeignClientException(CommonStatus.FEIGN_CLIENT_ERROR_400);
        } else {
            logger.error("500번대 에러 발생 : {}", response.reason());
            return new CustomFeignClientException(CommonStatus.FEIGN_CLIENT_ERROR_500);
        }
    }
}
7. Service에 FeignClient 의존성 주입
@Service
@RequiredArgsConstructor
public class SmsServiceImpl implements SmsService {
  private final NaverSmsFeignClient naverSmsFeignClient;
  ...
  naverSmsFeignClient.sendSms(serviceId, headers,request);
}
이후, 6자리 랜덤 숫자를 생성하고 전송하는 코드는 깃허브에 있다!
'Study > Spring' 카테고리의 다른 글
| Springboot에서 Redis 사용 방법 정리 (0) | 2023.12.01 |
|---|---|
| [트러블슈팅] NCP SENS API 호출 시, 401 Unauthorized 에러 (0) | 2023.11.08 |
| 연관관계 매핑 기본 개념 (0) | 2022.11.17 |
| IoC와 DI (0) | 2022.06.24 |
| 싱글톤 패턴 (0) | 2022.06.23 |